

Posted by Canada Hot Tub Parts® on Aug 16, 2021
Installing A Winter Pool Cover
Installing A Winter Pool Cover
Pool Cover Installation
As the season changes and the weather becomes colder, stress may arise at the thought of closing a pool. If you’ve never put a winter pool cover on before, it can seem like a rather daunting task. We’ve laid out the essential information you need to know when it comes to pool cover installation.
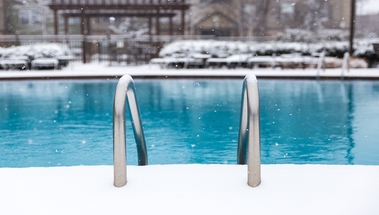
Regardless of if you have an above-ground pool or in-ground pool, you must be sure to finish all your pool winterizing before placing the cover. Using a pool closing kit will help the winterizing process, which should begin roughly 2 weeks before you intend on officially closing your pool and adding the cover.
Above Ground Pool
An above-ground pool cover is a bit trickier as you will need more accessories to complete the process properly. You will need the winter cover, a cable, and a winch, which should all come with the cover but can be purchased separately. As an extra means of protection, it is an option to also use wall bags or cover clips. When you are installing the cover, you want to be sure that there is no risk of the cover being damaged. This means you need to eliminate or use padding on any sharp edges or corners, as well as any hard surfaces.
- Place the cover evenly over your pool, with the cover dipping in the middle to touch the water.
- Thread the cable through the grommets around the edge of the cover (over one grommet, under the other and repeat).
- Insert the cable into the winch and pull it tightly, being sure to tuck in any extra material from the cover.
- Optional: Place your wall bags or pool cover clips to secure your cover down tightly and ensure no wind will damage the cover.
In-Ground Pool
An inground pool cover will require fewer accessories as you will only need: the cover and water bags. Once again, you must be sure there are no sharp edges, rough corners, or hard surfaces that may cause damage to your cover.
- Spread your cover evenly over the pool making sure it is supported by the water.
- Place the water bags first when they are unfilled, making sure they cover the entire length (water bags should be end to end).
- Fill the water bags less than half full to account for ice expansion.
This pool closing process will become easier throughout the years as you become an expert with your pool’s needs. It will also be much easier if you have a partner to assist you in the process.


